
“Offices” are a year-long tool your class will love to take out at writing time (or any time!)! They help kids focus on their work and it give them a ton of helpful reference tools at their fingertips.
Yes, it’s obviously a little prep up front to assemble them, but they last ALL YEAR LONG! I don’t even laminate them and they get stored in my student’s own {sometimes messy} desk drawers! We use them almost daily and they’re 100% worth the little bit of work that goes into creating them.
Here’s my step-by-step guide to making the offices:
- Print the pages you want to include. If you want to use the same pages as me (and have more similar options, too), you can find them HERE.
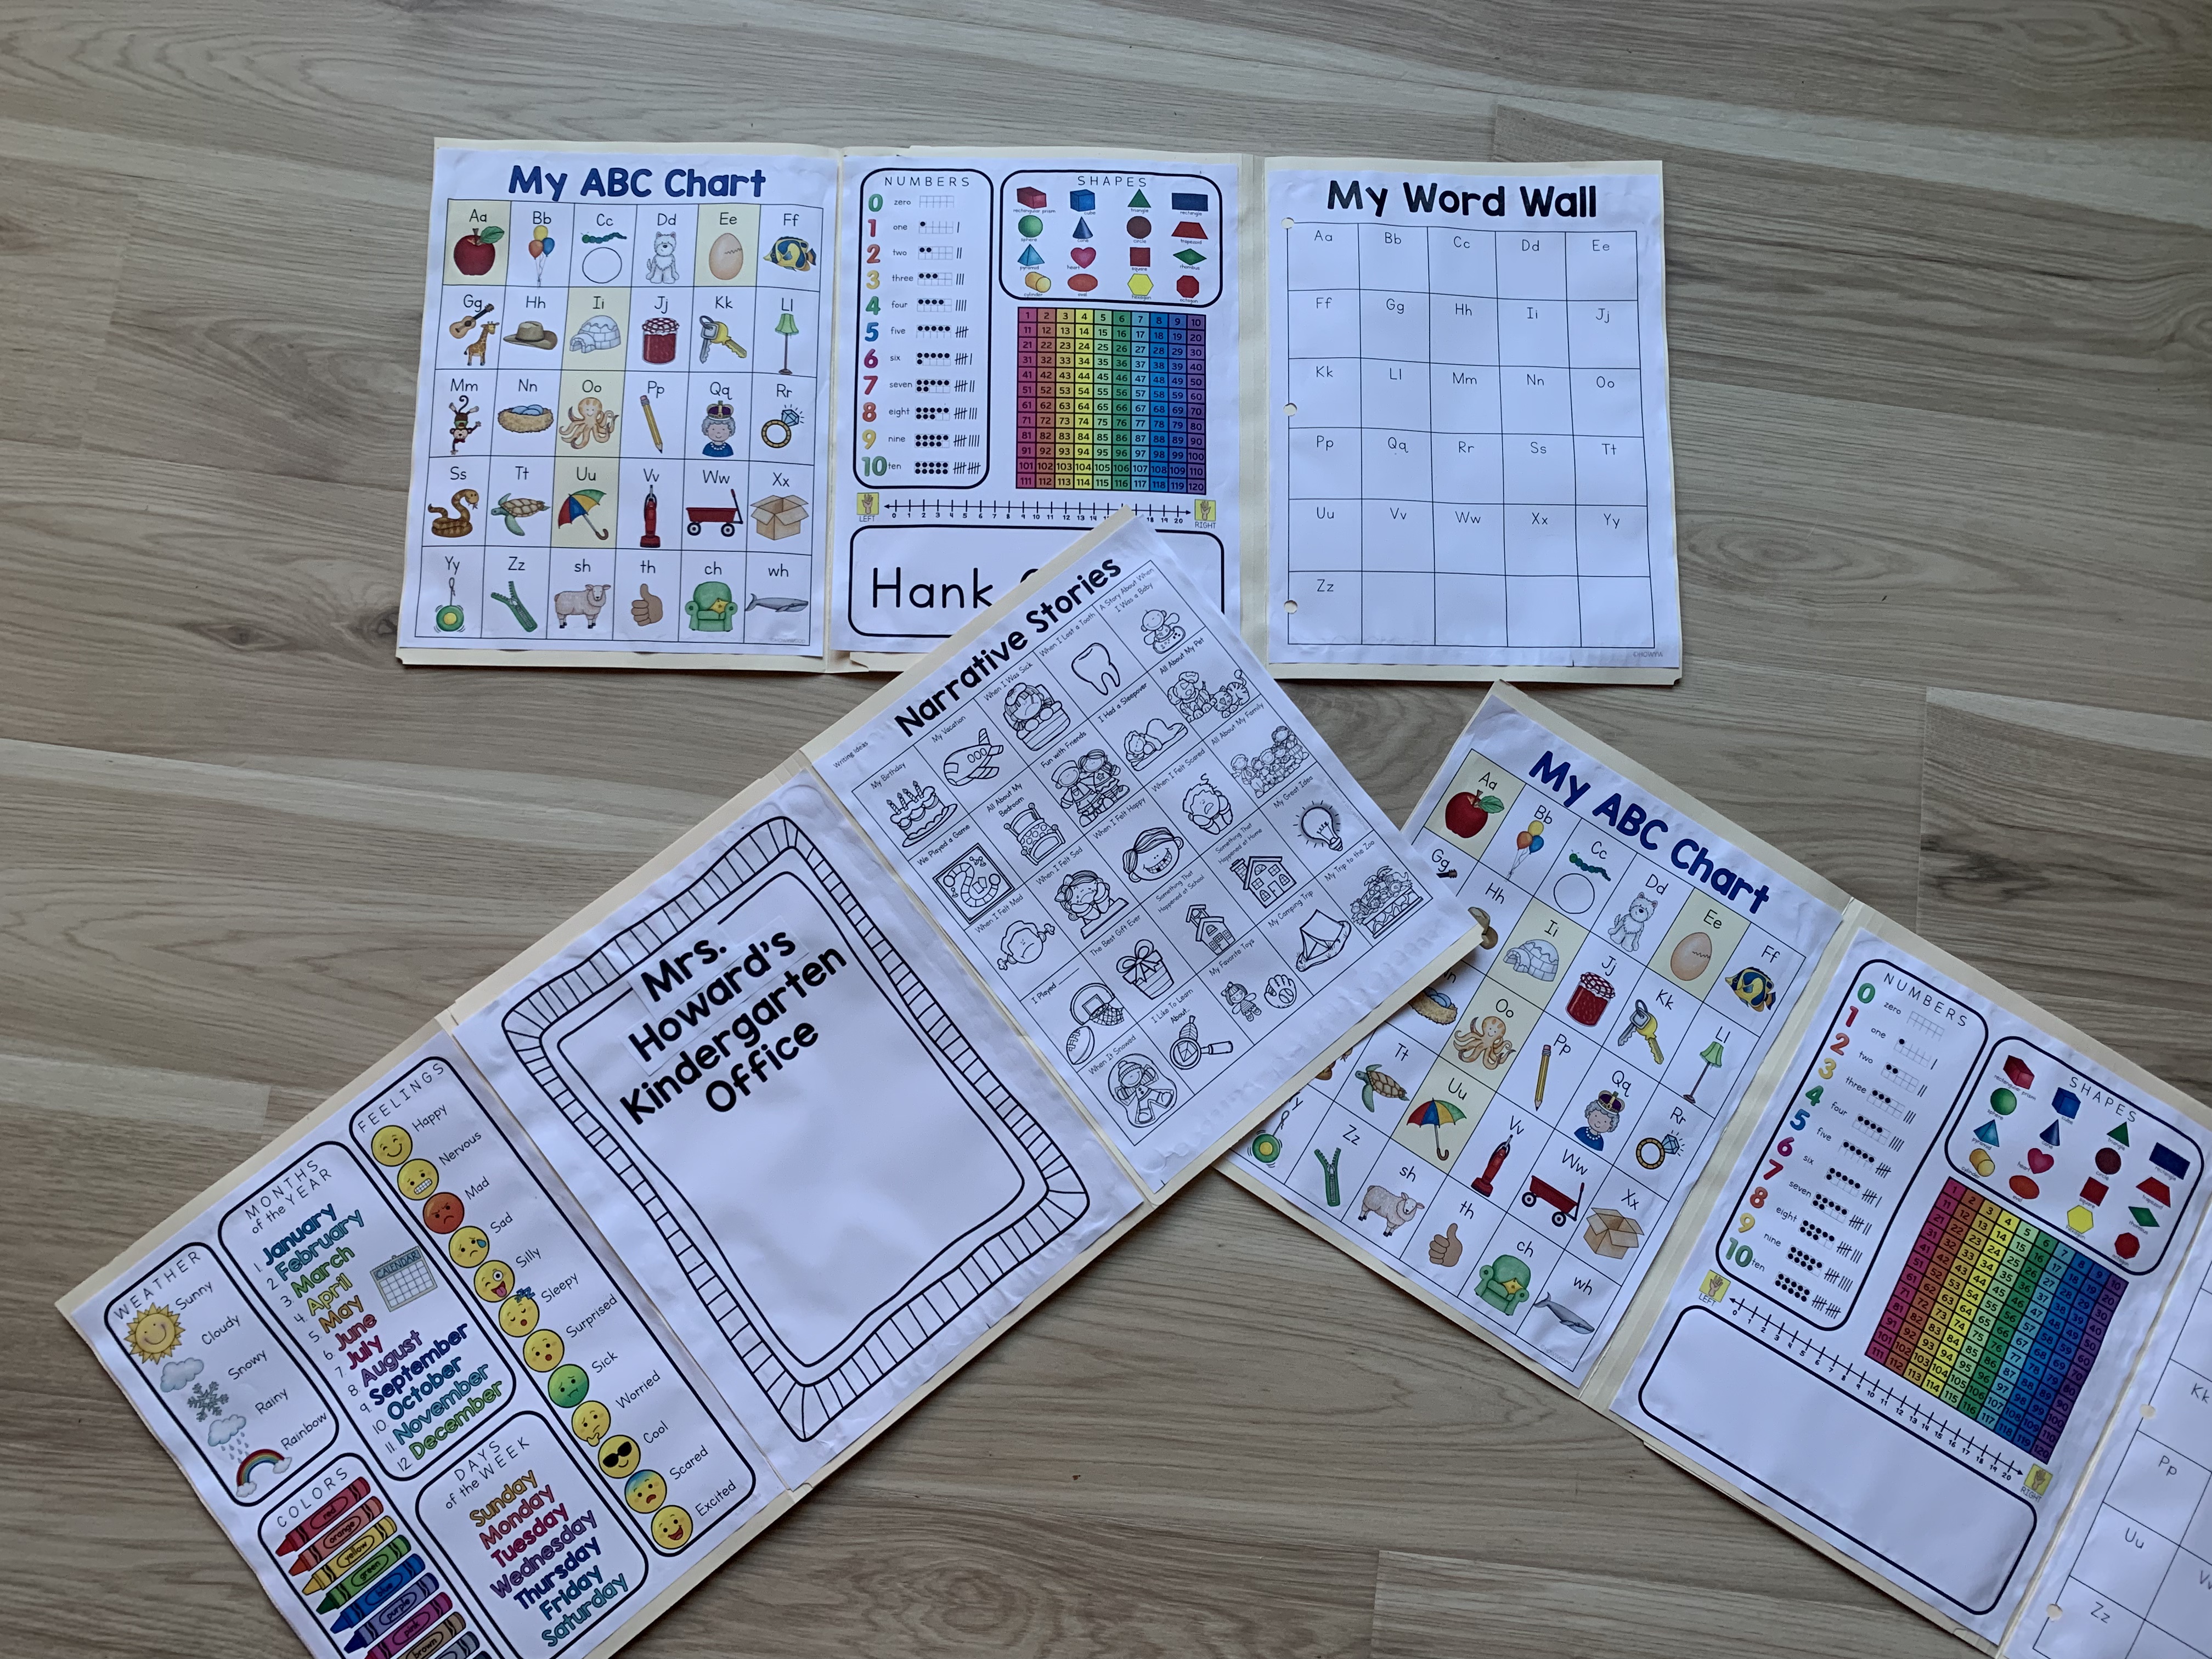
- Get plain manilla file folders and staple two together so they overlap in the center. Make sure they’ll still be able to fold closed.
- Glue the pages on! I just use a bottle of glue and get to work. I end up laying them out on my floor or countertops for a little bit to dry.
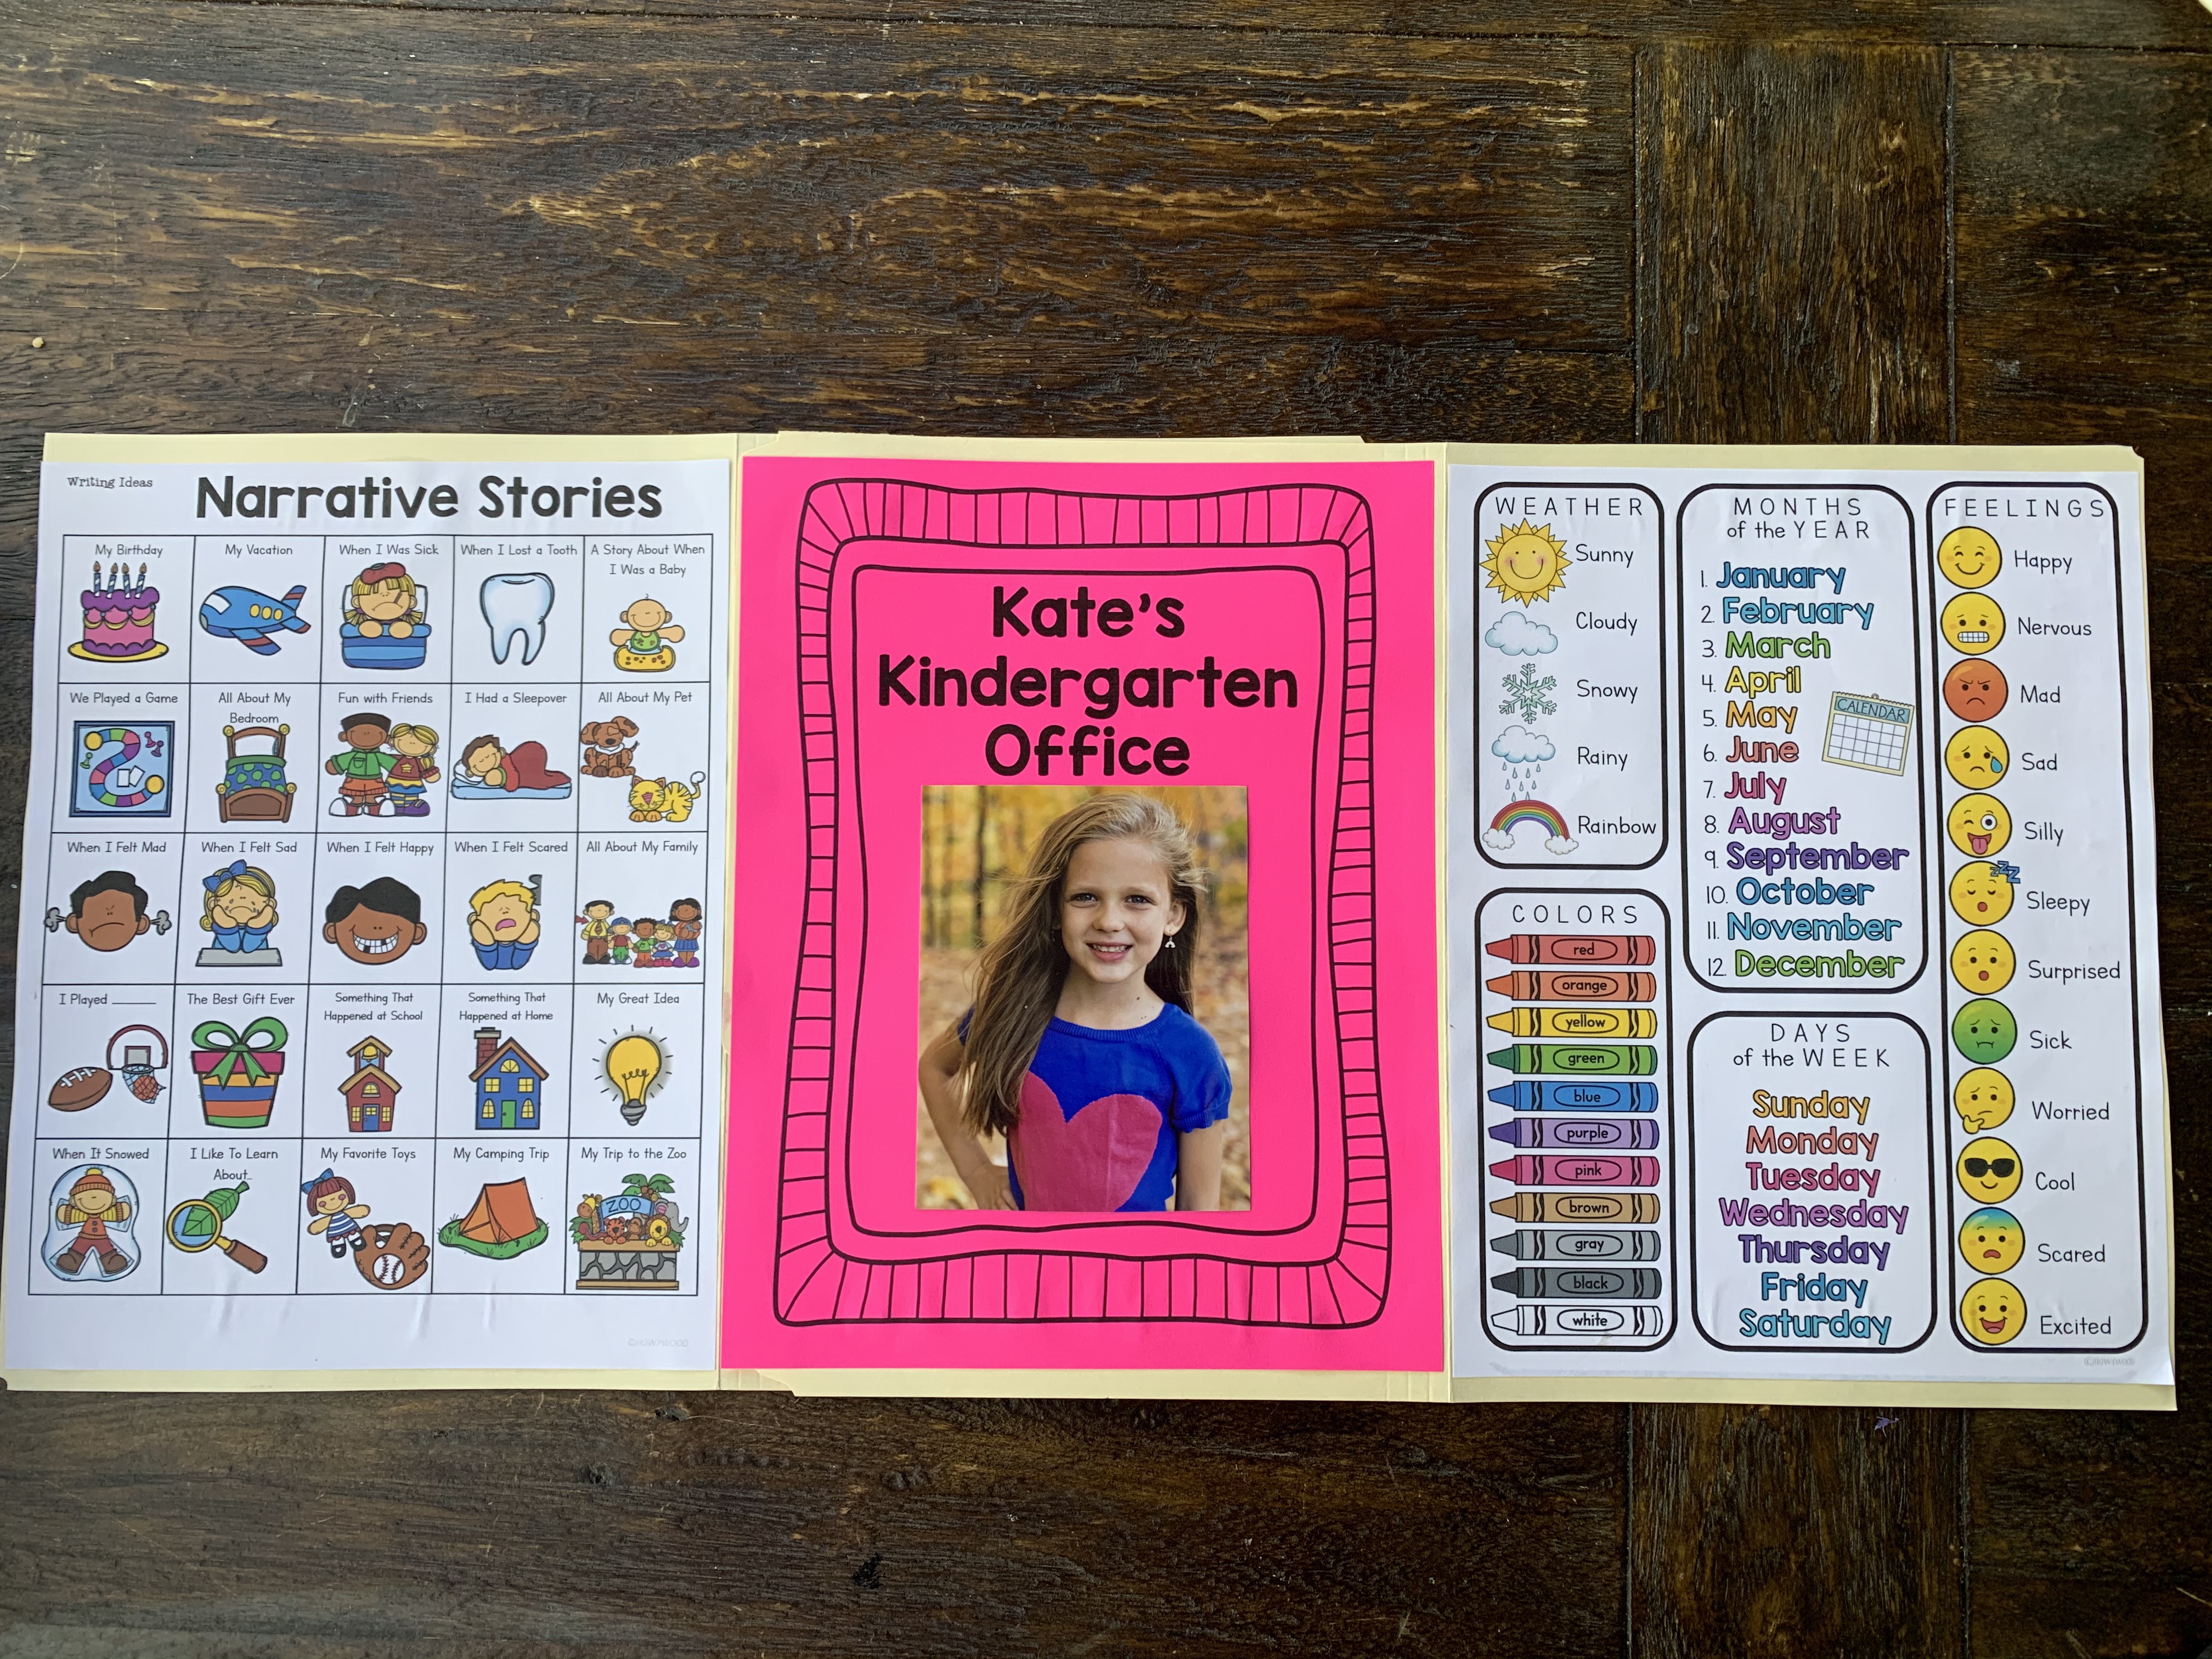
- In the end, the ends should both fold inward so it’s just a little bigger than a piece of paper.
Tips and Ideas:
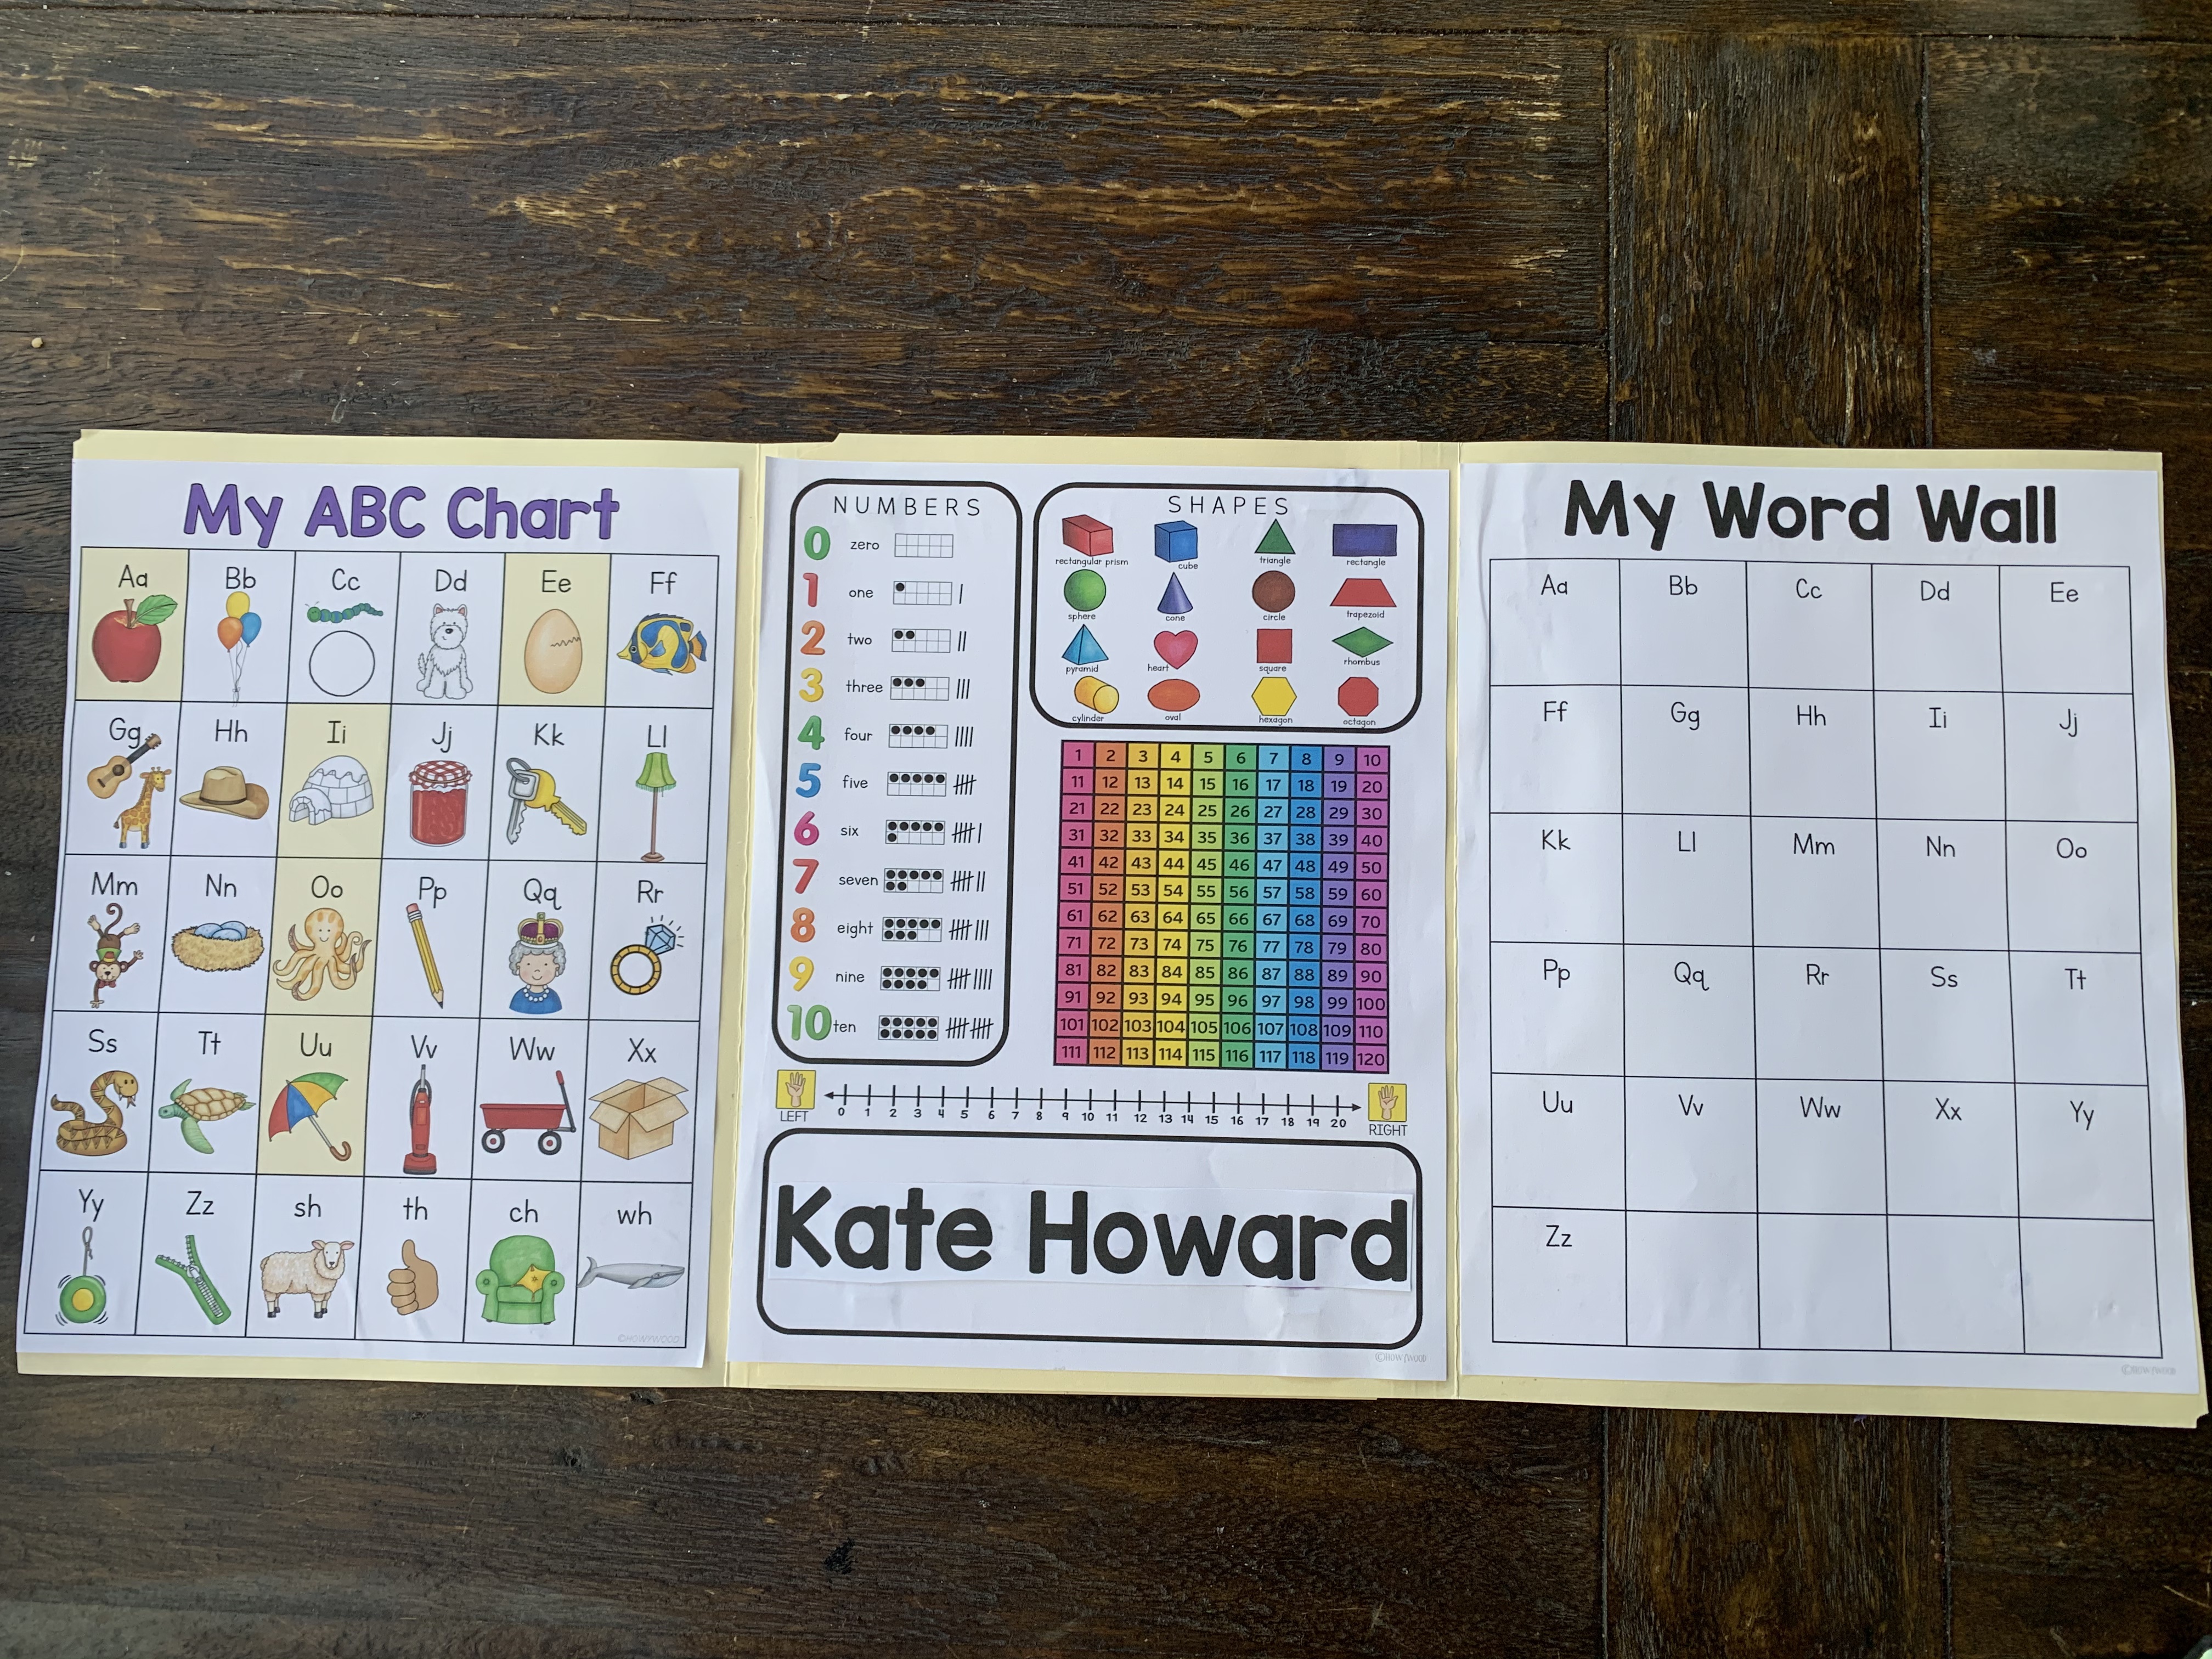
- I like putting their name down low in the inside middle section so it’s riiiiight by where they’re writing it themselves on their paper.
- As we change writing styles (narrative, how-to, opinion, etc), I have kids just glue the new writing ideas on top of their old one.
- For the word wall page, you could print it with your words pre-typed in, and/or you could also help kids add words as they ask for help. When they say, “How do I spell ____?” you can figure it out together and record it for them on their word wall. They LOVE having a tool to be more independent with their writing!
- You can put their picture on front or not! I’ve done it both ways- no pressure. Photo alternatives include just making the words larger or having kids draw a picture.
What questions do you have? Let me know if I can help!
